Country Club Golf Coursein Charlotte, NC
Premier Green & Championship Experience
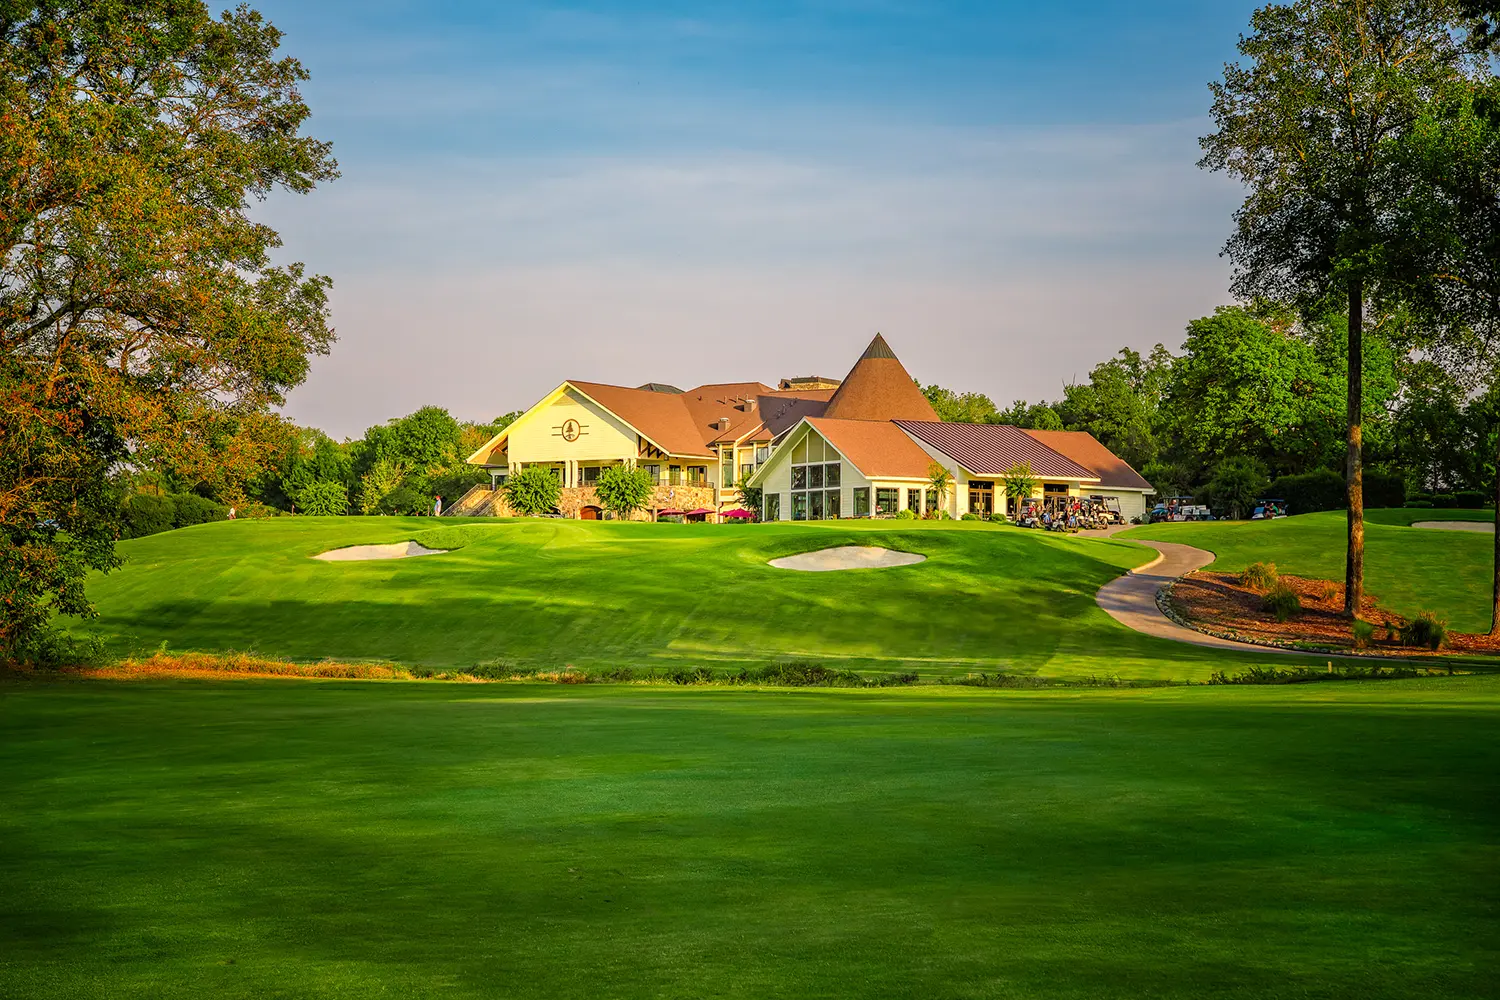
Inspired by a rolling piece of farmland, Pine Island is truly a club in the country. Conveniently located in the Mountain Island area, Pine Island is far enough away to escape the hustle and bustle of Uptown Charlotte but close enough to make it accessible from anywhere in the metro area. Pine Island’s fully private facility features an 18-Hole Championship Golf Course with expansive practice facilities.
Dress Code (Golf Course and Practice Facilities)
- All golfers must wear shirts with collars and sleeves, female golfers may wear golf-appropriate sleeveless golf shirts. Men’s shirt tails should be tucked in.
- T-shirts are not permitted
- Bathing suits are not permitted
- Jeans, cut-offs, cargo shorts/pants, or athletic wear are not permitted
- Hats and caps must be worn in the bill-forward position at all times
- Appropriate footwear is required. Sandals or flip-flops are not permitted.
Hours of Operation
Golf Shop
Mon | Closed
Tues – Sun | 7:30am – 6pm
Practice Facilities & Range
Mon | Closed
Tues – Sun | 7:30am – 7pm
Cart and Practice Range availability are subject to remaining daylight and prior weather conditions. The Practice Range will typically open during the hours above, and cart rentals will cease 1 hour prior to sunset.
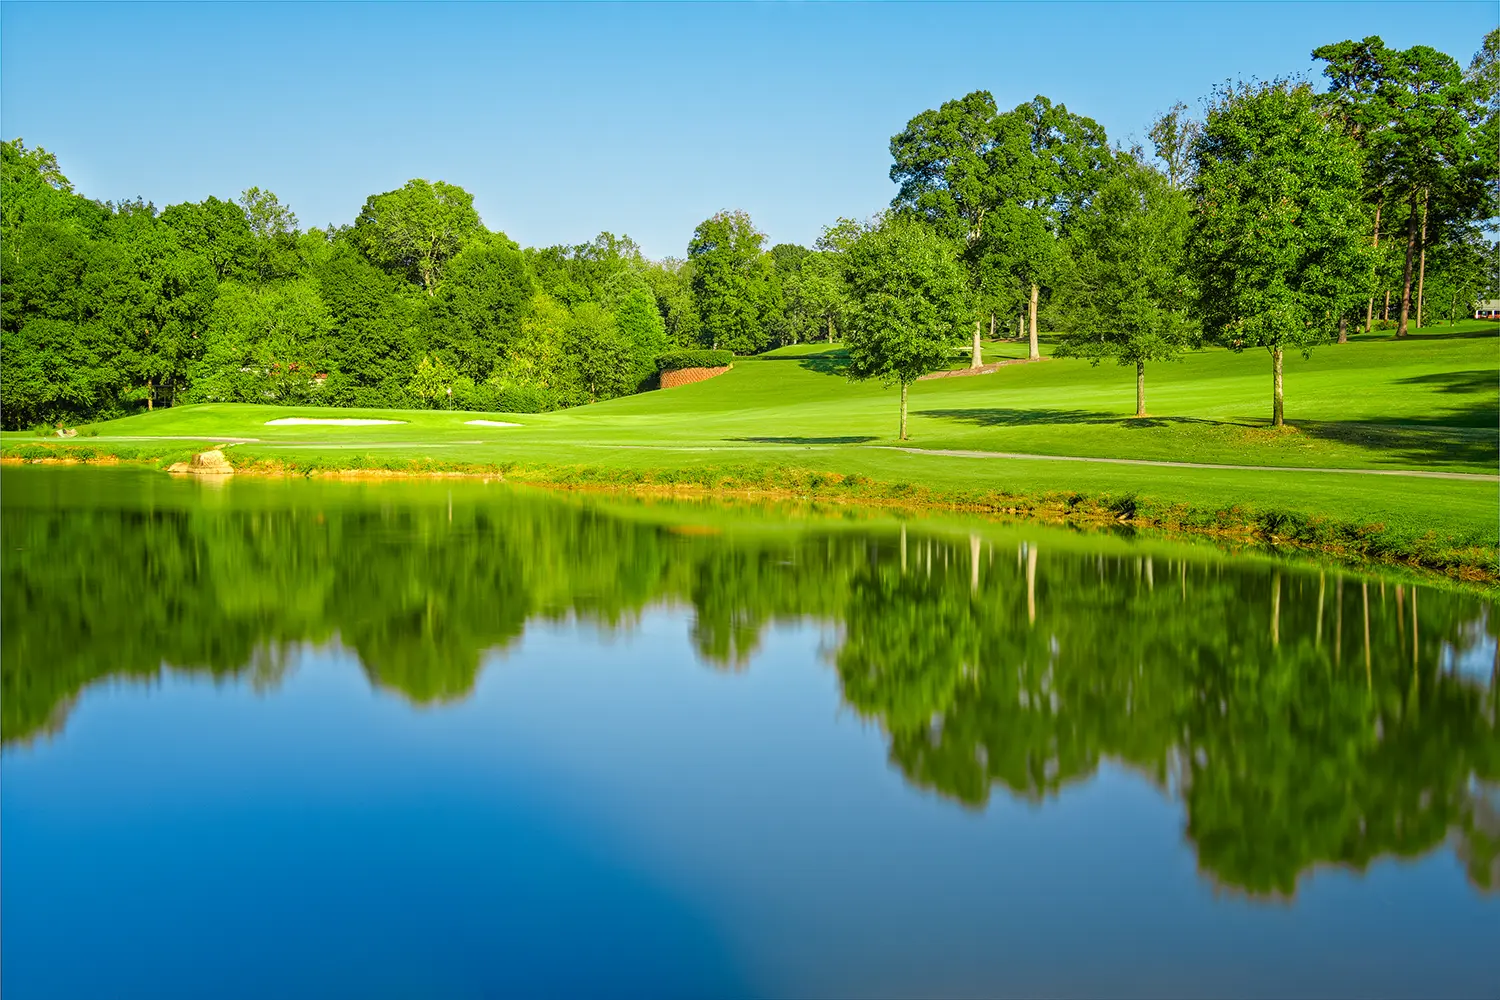
Golf At It’s Finest
Our Country Club Golf Course
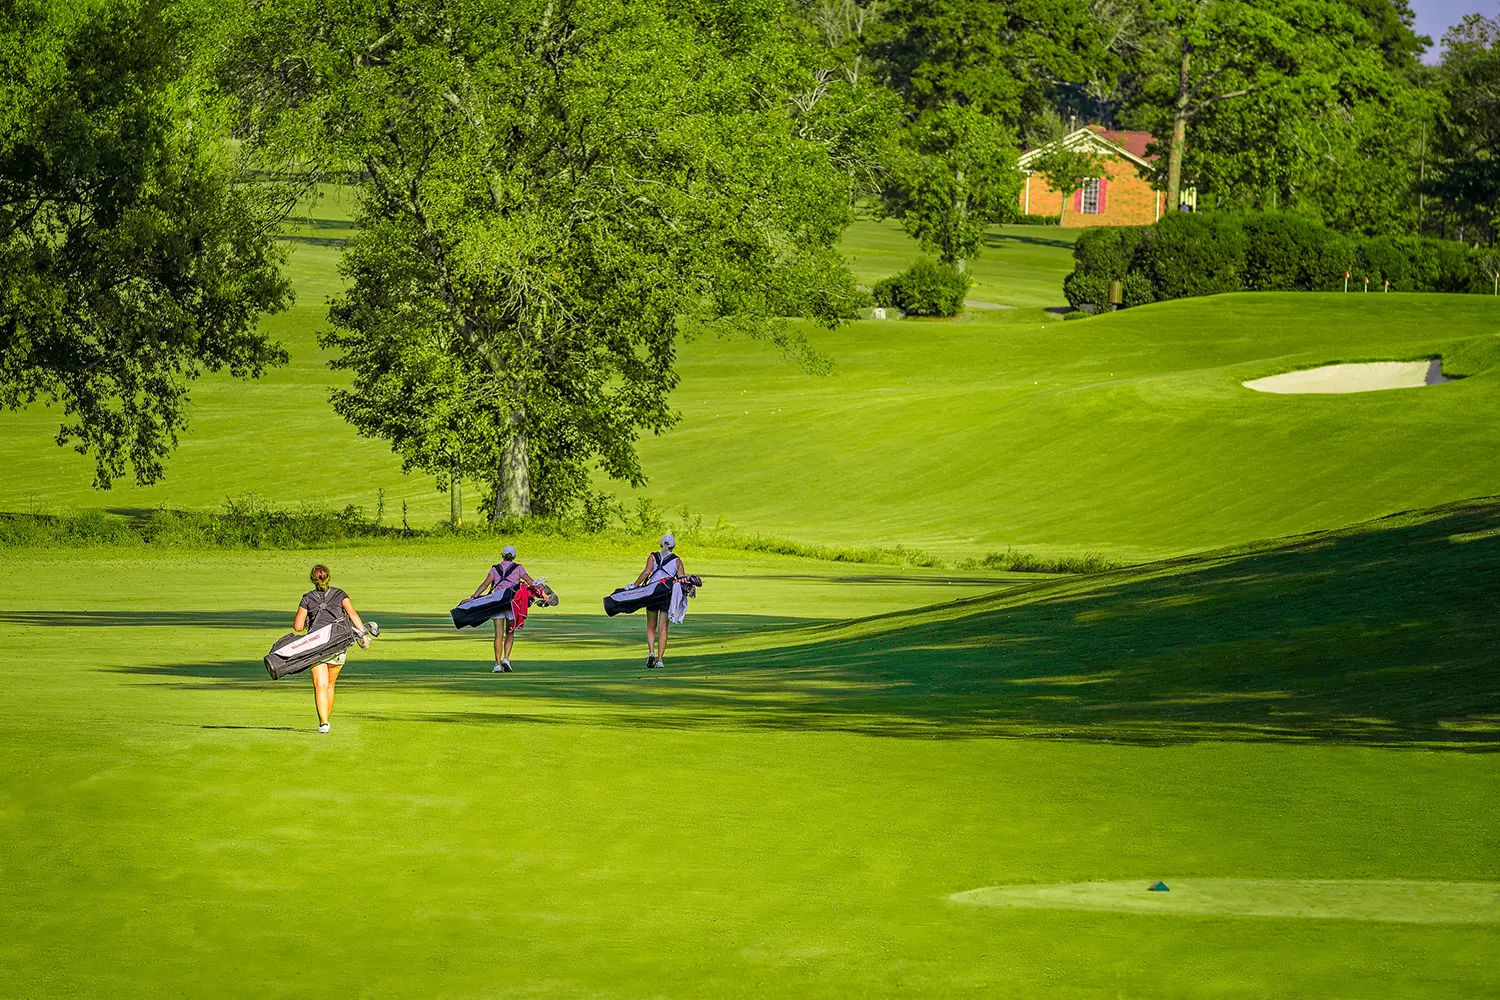
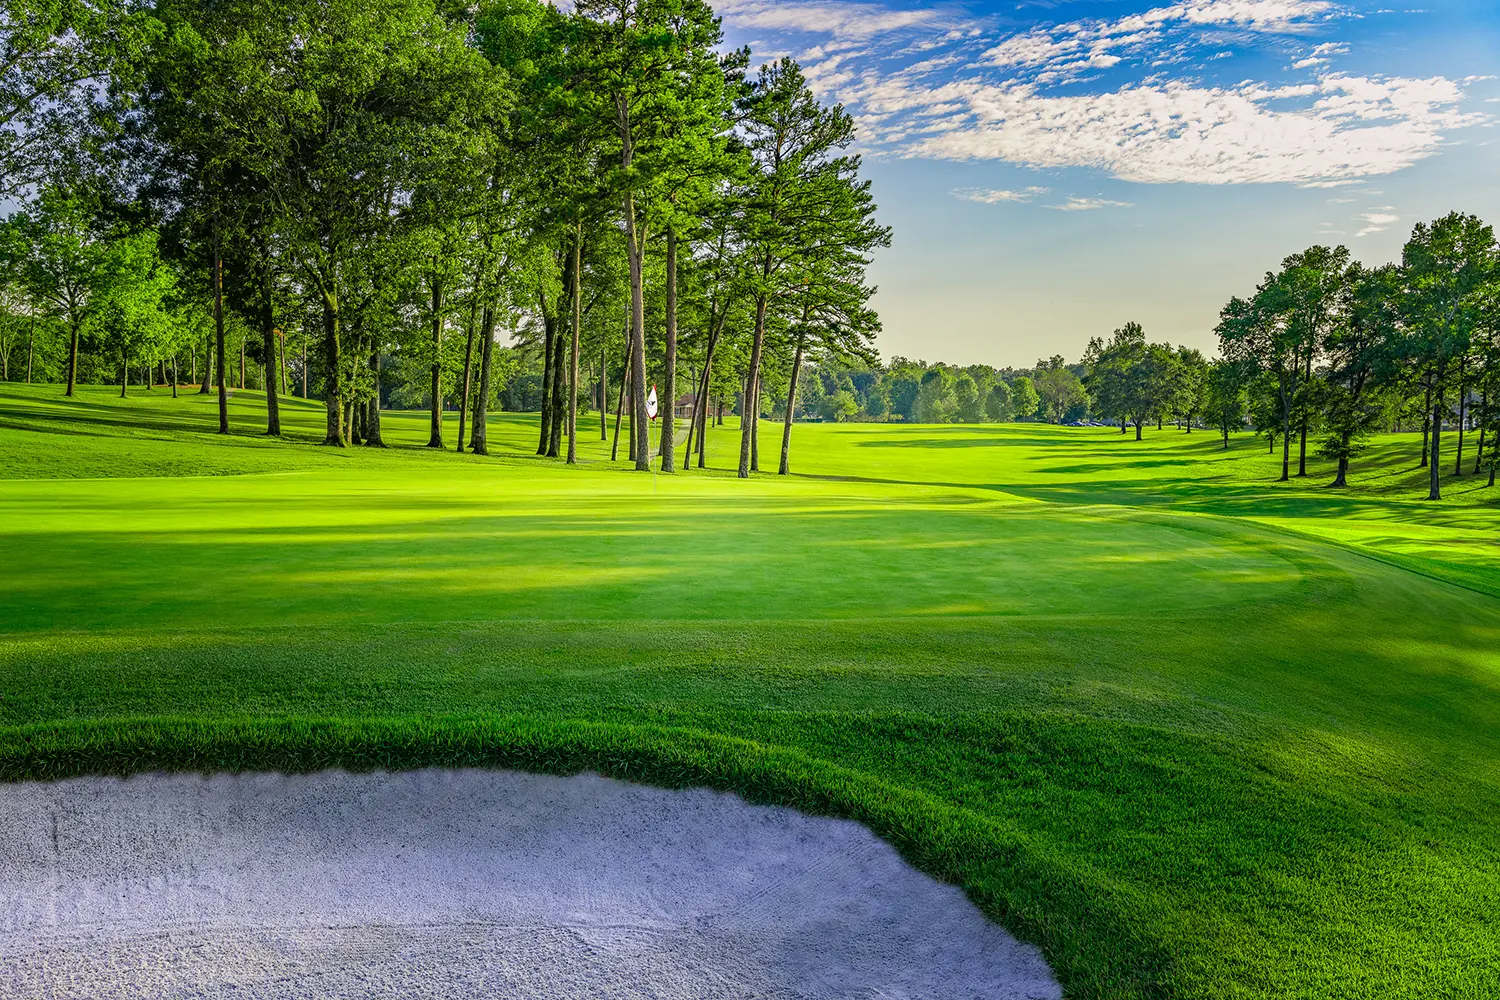
Our serene country club golf course is one of the finest USGA-regulated courses in the region, providing fun and challenging play for golfers of all ages and skill levels. Inspired by a rolling piece of farmland in the mid 1960s, golf course architect Charles M. Mahannah created a course every golfer would enjoy. His vision of a course that requires proficiency, reverence and thought has continued through the years as we continually upgrade, redesign and maintain the course through innovative practices and trendsetting technology.
Pine Island’s golf course is the best well-kept secret in northwest Charlotte. The course layout puts a premium on shot placement and strong short game play with a variety of different angles and elevation changes, Pine Island is a course you will want to play day after day.
Win at Practice
Practice Facilities
Pine Island’s practice facilities expand over 7 acres of land including a teeing area with grass and artificial turf, practice chipping green complete with a bunker and an oversized lighted putting green
Need a tune up on your game? Private and Group Instruction is available by contacting Sam Bryant at spbryant@pineislandcc.com.
Play to Win
Tournaments and Outings
Our pristine course is the perfect place for a company, civic or charity golf tournament. Conveniently located off I-485, Pine Island is only minutes from Uptown Charlotte, Charlotte-Douglas International Airport and interstates 85 and 77.
Whether you are hosting a friendly gathering, entertaining clients and colleagues or raising money for a charitable cause, there is no better place to host your next Golf Tournament than Pine Island Country Club! We have everything you could want from pristine golf conditions, delicious food & beverage options and professional staff members who will make sure you and your guests have a memorable experience!
Corporate Tournaments | Corporate Outings | Charity Tournaments
Contact Natalie Becker at nbecker@pineislandcc.com to book your outing today!
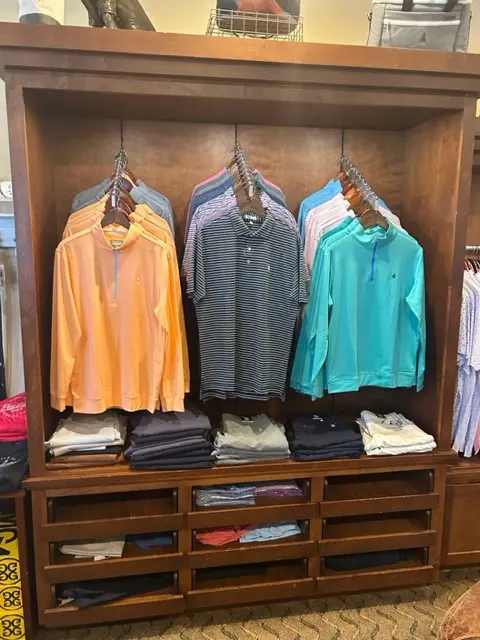
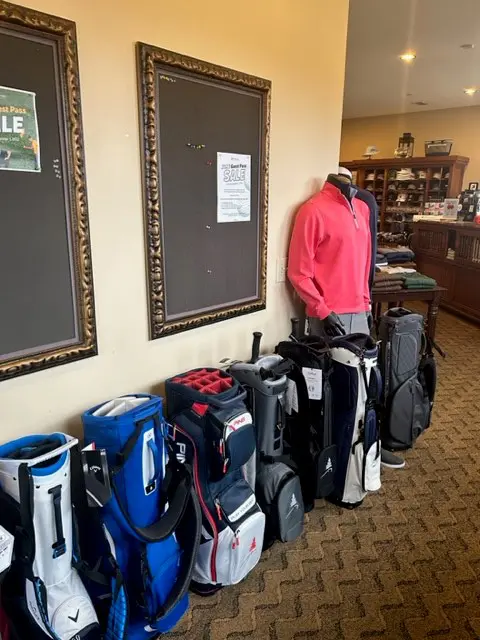
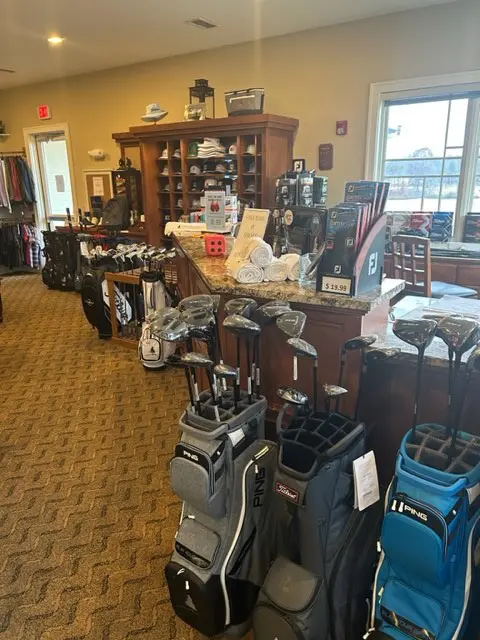
Golf Apparel
The Golf Shop
The Pine Island Golf Shop offers all the top brands in the industry including Peter Millar, Titleist, FootJoy, Johnnie-O, Straight Down, Imperial Headwear and many more. If we do not have what you are looking for we will be happy to order it for you!
We also offer services such as Re-Gripping and Club Fitting. We schedule regular Demo Days throughout the year from all the leaders in the golf industry.
Pine Island membership enjoys discounts year-round!